These fan pins can be found between the fuses and the x stepper driver see image above. Acrylics of 12 and 3 millimeters as well.
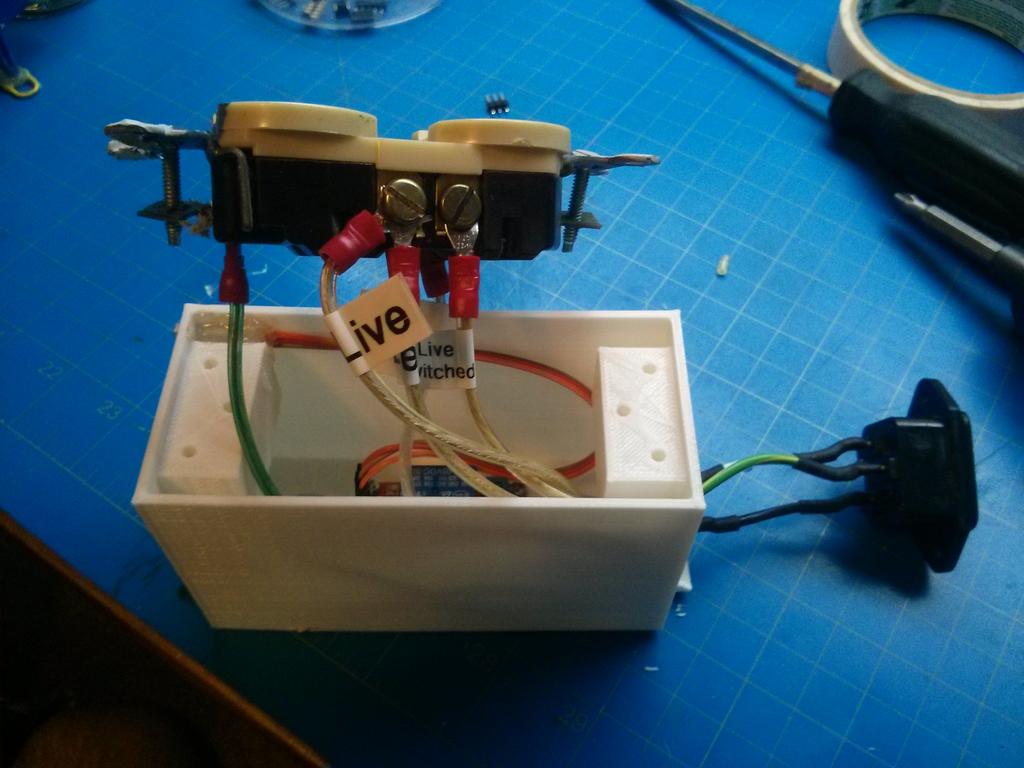
Mpcnc A Relay Switched Outlet Box Disc Space
Mpcnc wiring diagram. Mpcnc primo parts printed parts sizes there are 3 different sets of printed parts c 235mm f 25mm or j 254mm 1 inch. Assembling a mpcnc part 2 wiring belts and first movement duration. Your instructions do not say i need it but the wiring diagram implies it. The dual kit adds complexity with that complexity you gain accuracy and precision. Mpcnc build wiring the machine and first run ep44 duration. On the image the left pin is so make sure the red wire from the fan connects to that one.
I am building my mpcnc and i want to work with laser i need to cut engrave and rasterize carton 1234 and 5 millimeters thick. This tutorial is good for me. Making stuff 45284 views. 6 amazing diy woodworking tools you must see do it yourself and do not waste money. The normal wiring setup generally means we hook the heat sink cooling fan to the 12v fan connector on the ramps 14. Mpcnc a beginners guide to your first job.
The mostly printed cnc machine uses two stepper motors on each of its x and y axis and a fifth stepper to drive the tool up and down on the z vertical axis. Anywhere else you must physically measure first. The measurement is for the outside diameter of the conduitrailstubing. 3 years ago reply upvote. There are now two wiring choices. 235mm fits ¾ emt conduit in the us.
Oh and for some reason all wires on 3d. Mpcnc motor management starting the wiring mpcnc motor management is pretty simple as long as you get the windings attached carefully. Using this wiring kit you really just need to plug in the motors tape or otherwise secure the connection and go. Please measure your rails before printing. I highly recommend you start with the series wiring kit.
Gallery of Mpcnc Wiring Diagram